Video Download
After videos have been transcoded on api.video, it’s natural that you want to give your users the ability to download their videos, or just download the video for your own use, possibly for backup.
api.video allows you and your users to download videos directly from the player or programmatically through the API.


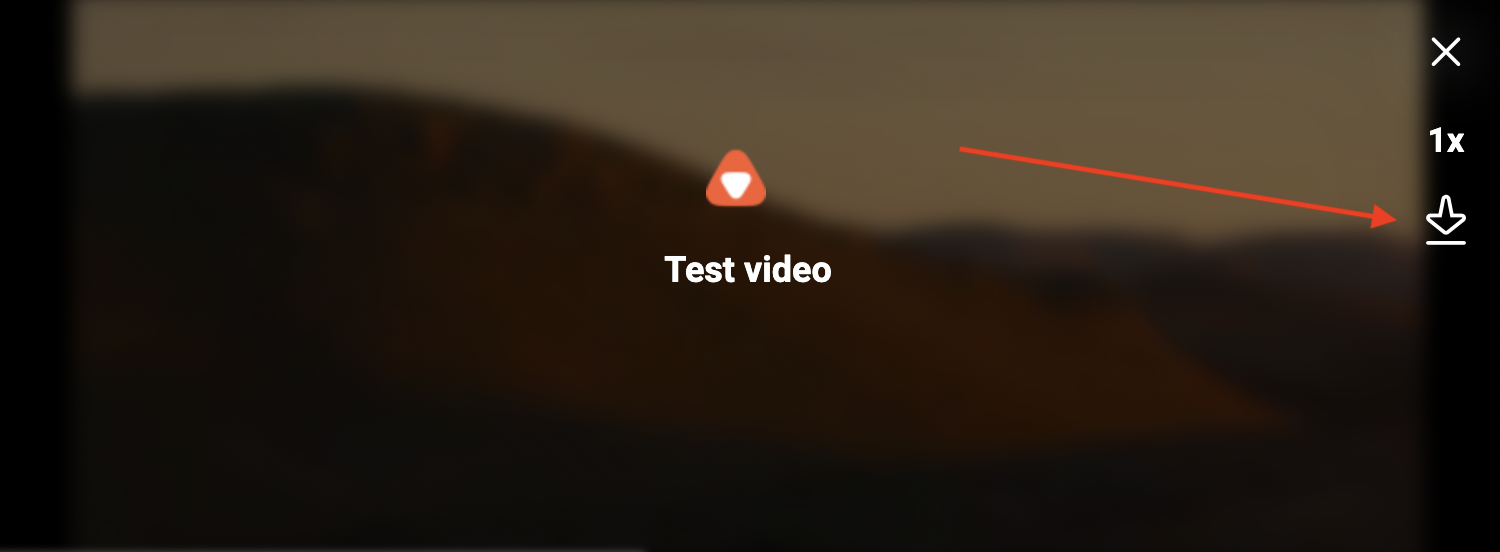
Download a video from api.video player
The video object can be created or updated with the mp4Support tag. The tag will make the video downloadable and display a button on the api.video player.

- By default, the
mp4Supporttag is set totrue, hence the video is downloadable. If you want to disable the download ability from the api.video player, you have to set themp4Supporttag tofalse - If you don’t want the user to be able to download the video, do not serve the mp4 asset.
Disabling download
You can use one of the API clients offered by api.video. You can find the list of clients in the api.video API Client catalog.
You can also find more information on the /videos endpoints on the API reference page.
Disable download for a video object
How to create a video object with disabled download
// Documentation: https://github.com/apivideo/api.video-nodejs-client/blob/main/doc/api/VideosApi.md#create

const client = new ApiVideoClient({ apiKey: "YOUR_API_KEY" });

// create a video using all available attributes
const video = await client.videos.create({
  title: "My video", // The title of your new video.
  m4Support: false
});
Once the object is created, all you have to do is just upload the video to the object:
const file = './my-video.mp4'; // The path to the video you would like to upload. The path must be local. If you want to use a video from an online source, you must use the "/videos" endpoint and add the "source" parameter when you create a new video.
const videoId =  video.id
const upload = await client.videos.upload(videoId, file)
Disable download for an existing video object
It’s also possible to disable the download ability for the users, after the video was already uploaded and transcoded. For that, you just need to update the video object.
// First install the "@api.video/nodejs-client" npm package
// Documentation: https://github.com/apivideo/api.video-nodejs-client/blob/main/doc/api/VideosApi.md#update

const client = new ApiVideoClient({ apiKey: "YOUR_API_KEY" });

const videoId = 'vi4k0jvEUuaTdRAEjQ4Jfrgz'; // The video ID for the video you want to update.

// define the value you want to update
const videoUpdatePayload = {
    mp4Support: false, // Whether the player supports the mp4 format.
};
const updatedVideo = await client.videos.update(videoId, videoUpdatePayload);
Creating a custom download button
Most players support download, however, if you would like to add a download button to a custom player that doesn’t have a download button, it’s also possible.
By leveraging the API, you can create a request to api.video, which will get the video id and then render a download button serving the mp4 asset.
In this example, you will learn how to create a custom download button with React and Node.js backend
Prerequisites
- api.video API key, you can find the information on how to retrieve the API key in the Retrieve your api.video API key guide
- Make sure that you have Node.js, npm and React installed
- Create a React project
React Button Component
After you have the React project ready, navigate to the project root folder:
$ cd my-react-projectInstall the file-saver module dependency
$ npm install --save file-saverWe will need to add a new component to React, that will make a request and get the video mp4 asset url. For your convenience, we’ve created the component for you. All you have to do is add the component below.
import { saveAs } from 'file-saver';

// here you specify how you want to call the downloaded file
const videoFileName = "source.mp4";
const serverHostname = "localhost:5500"

// on the click handle, get the mp4 asset of the video
const handleClick = async (sourceVideoId) => {
  try {
		// replace the server hostname with your
    const response = await fetch(`https://${serverHostname}/download?videoId=${sourceVideoId}`, {
      method: 'GET',
    });
    if (!response.ok) {
      throw new Error(`Error! status: ${response.status}`);
    }
    const result = await response.json();
    if(result.videoUrl) {
      await fetchVideoUrl(result.videoUrl);
    }
  } catch (err) {
    console.error(`error: ${err}`);
  }
};

// download the mp4 asset using file-saver library
const fetchVideoUrl = async (mp4Uri) => {
  try {
    const response = await fetch(mp4Uri, {
      method: "GET",
      header: {
        "Content-Type": "video/mp4",
      }
    })
    if (!response.ok) {
      throw new Error(`Error while fetching file`);
    }

  const blob = await response.blob()
  // here we specify the name of the
  saveAs(blob, videoFileName);
  } catch (error) {
    console.error(`Unable to download video. ${error}`);
  }
}

const DownloadVideo = ({videoId}) => {
  return (
    <div>
      <header>
      <div>
      <button onClick={() => handleClick(videoId)}>Download Video</button>
      </div>
      </header>
    </div>
  );
}
export default DownloadVideo;
As a best practice, you need to add the component in the Component folder (inside src).
Now let’s add the component to our App.js.
You will notice that you pass a videoId as a prop, for this example, just grab any video id from your dashboard or from the API.
const App = () => {
  return (
    <DownloadVideo videoId="the_video_id_you_would_like_to_download"></DownloadVideo>
  );
}
Serving the url from the backend server
In order to make sure that your request is not made from the frontend which might expose your API key, we need to create a server that will make the actual API request.
In the example, we are using Node.js with express server. Let’s create a Node.js server first
$ mkdir apivideo-serverThen navigate to the directory
$ cd apivideo-serverInitialise npm in that directory
$ npm initNow edit the index.js file that you’ve created, and copy this code.
Make sure that you copy your API key from the api.video dashboard and replace the port to the port you would like to run the server on.
const express = require('express');
// cors can be commented out in prod
const cors = require('cors')
const ApiVideoClient = require('@api.video/nodejs-client')
const app = express()
// change the port to whatever port you would like to run the server on
const port = 5500

app.use(cors())

const apivideoClient = new ApiVideoClient({ apiKey: "you_api_key" });

// get the video id from the request
const getVideoIdFromReq = (req) => {
  if (req && req.query && req.query.videoId) {
    return req.query.videoId
  } else {
    throw new Error(`Unable to find video id in the request`)
  }
}

// get the video mp4 asset url
const getVideoUrlAsset = async (videoId) => {
  if(videoId) {
    try {
      console.log(videoId)
      const videoMp4Asset = await apivideoClient.videos.get(videoId);
      if(videoMp4Asset && videoMp4Asset.assets && videoMp4Asset.assets.mp4) {
        return videoMp4Asset.assets.mp4;
      } else {
        throw new Error(`Mp4 asset not found`);
      }
    } catch (error) {
      console.error(`Unable to retrieve video. ${error}`)
    }
  }
}

app.get('/download', async (req,res) => {
   const videoId = getVideoIdFromReq(req);
   const mp4VideoAssetUrl = await getVideoUrlAsset(videoId);
   res.json({videoUrl: mp4VideoAssetUrl});
})

app.listen(port, () => {
  console.log(`Example app listening on port ${port}`)
})
The next step is to install the modules. Make sure that you are in the server directory
$ npm install express
$ npm install @api.video/nodejs-client
$ npm install cors
Run the server
$ node index.jsStarting up React
Depending on the port and hostname that you’ve set, replace the port in the React component (DownloadVideo) with the port that you’ve set for the server:
const serverHostname = "localhost:5500"Start the React frontend from the React project directory
$ npm startThe result that you should see is a button that will download the source.mp4 of the video once the button is clicked.