Using delegated upload tokens
You can upload videos using the traditional two-step process where you create a video container then upload your video into your container. You can also upload a video using a delegated upload token. This guide explains how to create, list, retrieve, and delete delegated upload tokens, and how to upload videos with them.


In this type of upload, you retrieve a token from the tokens endpoint. You can then directly upload using the token upload endpoint. It's one step, and you don't provide anything except the file. You can update the metadata for the upload later. A benefit of a delegated token is that you define the TTL (time-to-live) value, so it expires only when you need it to. You can always use the token to upload. You can also create delegated tokens for others to use to do uploads.
- Anyone who has a token can make an upload, so be careful how you set and manage tokens.
- You can create as many tokens as you need.
- If you do not include a TTL (time-to-live) value for a token, it lasts until you delete it.
If you want to learn about regular or progressive uploads, check out the regular and progressive video upload guides.
API documentation
Resources
We offer blog content on this topic:
- Delegated uploads - cURL Walk through how to do a delegated upload using cURL.
- Delegated uploads for videos large and small - Python Learn how to do a delegated upload using Python.
Create an account
Before you can start uploading your first video, you need to create an api.video account.
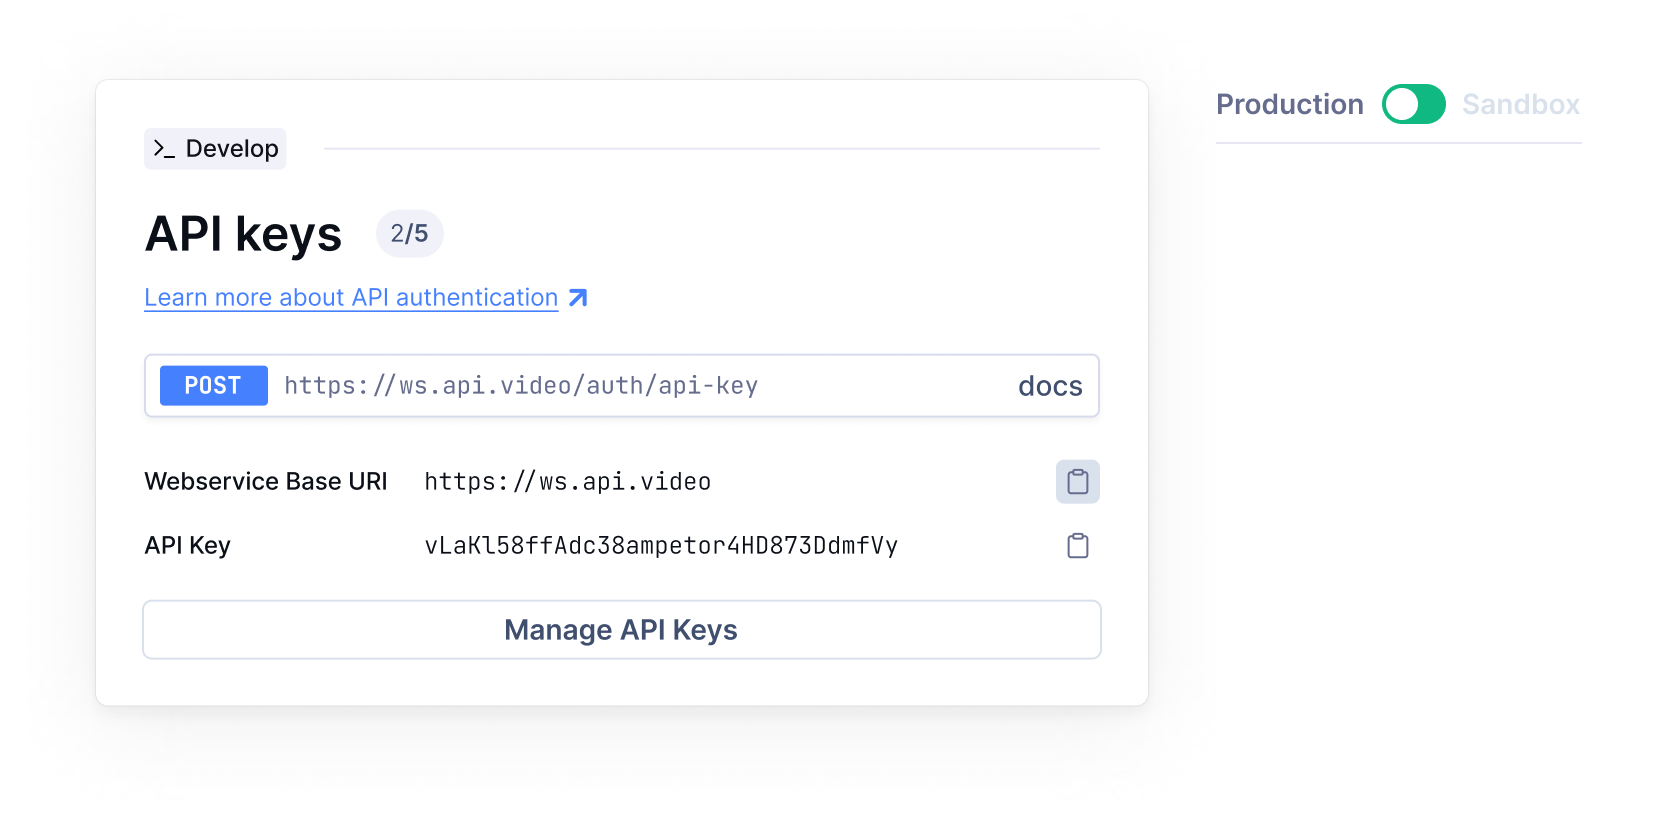
Once you are logged in to the Dashboard, select the environment of your choice (sandbox or production) and copy your API key.

Choose an api.video client
The clients offered by api.video include:
Installation
To install your selected client, do the following:
go get github.com/apivideo/api.video-go-clientGenerate a token for delegated upload
Use this code sample to generate a token for use with a delegated upload. You can include a TTL (time-to-live) if you like. The token will expire after exceeding the set TTL. If you don't send in a TTL, your token will last until you choose to delete it.
curl --request POST \
     --url https://ws.api.video/upload-tokens \
     --header 'Accept: application/json' \
     --header 'Authorization: Bearer eyJ0eXAiOiJKV1QiLCJhbGciOiJSUzI1NiJ9.eyJpYXQiOjE2NDI4MTQxNDUuMjE2Mzc2LCJuYmYiOjE2NDI4MTQxNDUuMjE2Mzc2LCJleHAiOjE2NDI4MTc3NDUuMjE2Mzc2LCJwcm9qZWN0SWQiOiJwclJ6SUpKQTdCTHNxSGpTNDVLVnBCMSJ9.GSDqqMzBxo-wOwl9IVbOnzevm8A6LSyaR5kxCWUdkEneSU0kIdoNfhwmXZBq5QWpVa-0GIT8JR59W6npNO-ayhaXmV3LA6EQpvv0mHd_dAhg3N8T96eC0ps0YIrkmw0_Oe6iRgEDI-wJ9nc6tQWi9ybbMHi1LDBjxW4rbFlq7G59C1QZGabd14QO7uqAUUSNqHC1l42z_m7BTK1AhFiBEXmMcfW7X0VmGcaEUy7NiNda8rmq_nrdvkxgN8KHguXzxMsw_4GE_d0eQwHcZvS1q-FebI6b8AoqpoltFOZvUACCrfXH_D_UPshHuJM3apXbD2dg_zQicc8oWBHVGiobLQ' \
     --header 'Content-Type: application/json' \
     --data '{"ttl":100}'
Upload a video with delegated tokens
If you do a progressive upload with a delegated token, you have to include the video ID you are uploading to after it comes back from the first request. If the video you're uploading is under 200 MiB, you don't need to worry.
You must first create a token and get the unique token ID to do a delegated upload. Then, you include it in your request as a query parameter. In the body, you place the path to the file you want to upload. If you are uploading a file that's 200 MiB or larger, to do a progressive upload, you will need to break the file into smaller pieces (no smaller than 5 MiB). Then send a request containing the first piece of your upload. Subsequent pieces must be sent with the video ID included in the body along with the file chunk. Retrieve the video ID from the response that comes back after your first request to upload.
curl --request POST \
     --url 'https://ws.api.video/upload?token=__TOKENIDHERE__' \
     --header 'Accept: application/json' \
     --header 'Content-Type: multipart/form-data' \
     --form file=@FILEPATH.mp4
Token operations
List all tokens you created
If a token is compromised, or you want to see how many tokens you have, you will need to retrieve a list of them programmatically. Here is the code sample for that:
curl --request GET \
     --url 'https://ws.api.video/upload-tokens?currentPage=1&pageSize=25' \
     --header 'Accept: application/json' \
     --header 'Authorization: Bearer eyJ0eXAiOiJKV1QiLCJhbGciOiJSUzI1NiJ9.eyJpYXQiOjE2NDI4MTQxNDUuMjE2Mzc2LCJuYmYiOjE2NDI4MTQxNDUuMjE2Mzc2LCJleHAiOjE2NDI4MTc3NDUuMjE2Mzc2LCJwcm9qZWN0SWQiOiJwclJ6SUpKQTdCTHNxSGpTNDVLVnBCMSJ9.GSDqqMzBxo-wOwl9IVbOnzevm8A6LSyaR5kxCWUdkEneSU0kIdoNfhwmXZBq5QWpVa-0GIT8JR59W6npNO-ayhaXmV3LA6EQpvv0mHd_dAhg3N8T96eC0ps0YIrkmw0_Oe6iRgEDI-wJ9nc6tQWi9ybbMHi1LDBjxW4rbFlq7G59C1QZGabd14QO7uqAUUSNqHC1l42z_m7BTK1AhFiBEXmMcfW7X0VmGcaEUy7NiNda8rmq_nrdvkxgN8KHguXzxMsw_4GE_d0eQwHcZvS1q-FebI6b8AoqpoltFOZvUACCrfXH_D_UPshHuJM3apXbD2dg_zQicc8oWBHVGiobLQ'
Show details about a specific token
Retrieve information about a specific token. To do this, you send a request containing the token ID for the token you need details about.
curl --request GET \
     --url https://ws.api.video/upload-tokens/to40nBwUZJGnuW8THBZwPqtL \
     --header 'Accept: application/json' \
     --header 'Authorization: Bearer eyJ0eXAiOiJKV1QiLCJhbGciOiJSUzI1NiJ9.eyJpYXQiOjE2NDI4MTQxNDUuMjE2Mzc2LCJuYmYiOjE2NDI4MTQxNDUuMjE2Mzc2LCJleHAiOjE2NDI4MTc3NDUuMjE2Mzc2LCJwcm9qZWN0SWQiOiJwclJ6SUpKQTdCTHNxSGpTNDVLVnBCMSJ9.GSDqqMzBxo-wOwl9IVbOnzevm8A6LSyaR5kxCWUdkEneSU0kIdoNfhwmXZBq5QWpVa-0GIT8JR59W6npNO-ayhaXmV3LA6EQpvv0mHd_dAhg3N8T96eC0ps0YIrkmw0_Oe6iRgEDI-wJ9nc6tQWi9ybbMHi1LDBjxW4rbFlq7G59C1QZGabd14QO7uqAUUSNqHC1l42z_m7BTK1AhFiBEXmMcfW7X0VmGcaEUy7NiNda8rmq_nrdvkxgN8KHguXzxMsw_4GE_d0eQwHcZvS1q-FebI6b8AoqpoltFOZvUACCrfXH_D_UPshHuJM3apXbD2dg_zQicc8oWBHVGiobLQ'
Delete a token
If you create a token that's compromised, you may want to remove it. Or, you might want to clean up how many tokens you have in general. All you need to do to delete a token is send a request containing the token ID for the token you want to remove.
curl --request DELETE \
     --url https://ws.api.video/upload-tokens/curl%20--request%20GET%20%5C%20%20%20%20%20%20--url%20https%3A%2F%2Fws.api.video%2Fupload-tokens%2Fto40nBwUZJGnuW8THBZwPqtL%20%5C%20%20%20%20%20%20--header%20%27Accept%3A%20application%2Fjson%27%20%5C%20%20%20%20%20%20--header%20%27Authorization%3A%20Bearer%20eyJ0eXAiOiJKV1QiLCJhbGciOiJSUzI1NiJ9.eyJpYXQiOjE2NDI4MTQxNDUuMjE2Mzc2LCJuYmYiOjE2NDI4MTQxNDUuMjE2Mzc2LCJleHAiOjE2NDI4MTc3NDUuMjE2Mzc2LCJwcm9qZWN0SWQiOiJwclJ6SUpKQTdCTHNxSGpTNDVLVnBCMSJ9.GSDqqMzBxo-wOwl9IVbOnzevm8A6LSyaR5kxCWUdkEneSU0kIdoNfhwmXZBq5QWpVa-0GIT8JR59W6npNO-ayhaXmV3LA6EQpvv0mHd_dAhg3N8T96eC0ps0YIrkmw0_Oe6iRgEDI-wJ9nc6tQWi9ybbMHi1LDBjxW4rbFlq7G59C1QZGabd14QO7uqAUUSNqHC1l42z_m7BTK1AhFiBEXmMcfW7X0VmGcaEUy7NiNda8rmq_nrdvkxgN8KHguXzxMsw_4GE_d0eQwHcZvS1q-FebI6b8AoqpoltFOZvUACCrfXH_D_UPshHuJM3apXbD2dg_zQicc8oWBHVGiobLQ%27 \
     --header 'Accept: application/json' \
     --header 'Authorization: Bearer eyJ0eXAiOiJKV1QiLCJhbGciOiJSUzI1NiJ9.eyJpYXQiOjE2NDI4MTQxNDUuMjE2Mzc2LCJuYmYiOjE2NDI4MTQxNDUuMjE2Mzc2LCJleHAiOjE2NDI4MTc3NDUuMjE2Mzc2LCJwcm9qZWN0SWQiOiJwclJ6SUpKQTdCTHNxSGpTNDVLVnBCMSJ9.GSDqqMzBxo-wOwl9IVbOnzevm8A6LSyaR5kxCWUdkEneSU0kIdoNfhwmXZBq5QWpVa-0GIT8JR59W6npNO-ayhaXmV3LA6EQpvv0mHd_dAhg3N8T96eC0ps0YIrkmw0_Oe6iRgEDI-wJ9nc6tQWi9ybbMHi1LDBjxW4rbFlq7G59C1QZGabd14QO7uqAUUSNqHC1l42z_m7BTK1AhFiBEXmMcfW7X0VmGcaEUy7NiNda8rmq_nrdvkxgN8KHguXzxMsw_4GE_d0eQwHcZvS1q-FebI6b8AoqpoltFOZvUACCrfXH_D_UPshHuJM3apXbD2dg_zQicc8oWBHVGiobLQ'
Conclusion
Delegated upload is a useful method if you want to allow users to upload videos - you can provide them delegated upload tokans that expire. You can also use this method to create one-time video uploader solutions. It's also useful if you want to upload content quickly without worrying about the metadata. Everything is uploaded at once - it's just the video and the title. You can add the metadata later.

